- March 23, 2017
- No Comment
Wooden’ it be nice: cool DIY projects to bring in extra cash

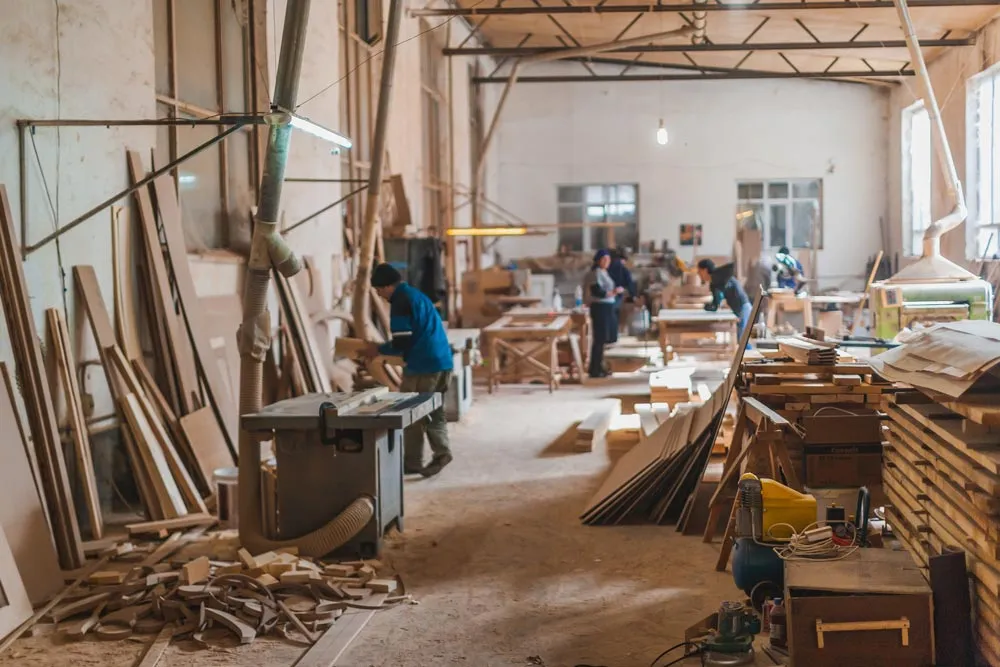
Know how to handle your wood? If not, now’s the time to learn. Not only could you gain extra brownie points with the important people in your life by hand-making custom gifts, you could even bring in some extra money by getting a little creative.
There’s nothing quite like finishing your own project. Especially if it puts a bit of extra money in the bank for important post-work activities like rugby and beer.
So why not put that spare wood to good use? You can make your own furniture; wooden wedding rings, tree houses for the kids, beer totes, wine displays, TV remote boxes. The list is endless., so we thought we’d focus on projects to make your life easier and, of course, ones we think are your best bet to save money and potentially generate extra cash.
Essential tools and items you will need for the projects featured below:
- Bevel Gauge
- Wood / Scrap wood
- Machine or similar to to cut it with i.e. a band saw
- Drill / Drill press
- Potting soil
- Epoxy
- Woodworking glue
- Clamps
- Lacquer for the finish
- Block pane
- Arrest
- Disc sander
[1] How to Make Succulent & Cactus Planters (two different shapes):
Find some scrap wood—this isn’t a needy project so anything you have lying around should be fine.
First of all, you need to cut out the pieces for the blanks; recommended size is three and a quarter inches. Decide on the style of planter box you would like to create—you can have more of a traditional style or a more creative octagon style as featured.
Glue the pieces together and clamp so they can set accordingly. Make as many or as little as you want.
Once the glue has set measure one inch from each corner (45 degrees) as a reference.
Set your bevel gauge to 83 degrees drawing an inward bubble on each face on all four sides. Cut off the corners on the first and the second piece. Temporarily put the remaining faces back on (reference lines) and cut back to the line. Smooth all the sides with the sander.
Find the centre point of your piece. Draw a two inch hole and drill into approximately two-and-a-half to two-and-three-quarters, depending on the style of your planter box. Round up and tidy up edges. Mix up epoxy to waterproof the inside of the planter boxes; paint on the inside to waterproof and seal. Make sure you come back to check and move the epoxy around regularly so it doesn’t settle in one place.
Leave for a minimum of 24 hours, finish with lacquer. Add soil, plants and any other decorations you want.
[2] How to Make a Beer Tote/Caddy:
Cut four sides to the size you want then cut grooves into the sides.
For the end pieces, mark and draw angles then cut out and clean up on the sander. Mark and draw holes for the handle. Measure accordingly then cut out the handle using the bandsaw.
Mark inside dividers and then using the band saw cut out notches. Mark and drill holes for the dowels (tubular inserts to hold it together).
Insert the glue and dowels, leave to set.
[3] How to Make a Magnetic Bangle Bracelet:
Glue together some contrasting wood, cut up two inch pieces. Cut a groove on one piece and a tongue on the other piece. Drill a quarter inch hole with a forstner bit on each end, then glue in the magnets of your choice.
Apply the printed bracelet template using a light adhesive and then cut out using a band saw. Finish the shaping on a disc and sander.
[4] How to Make a Wine Display:
You will need a board on average approximately five and three quarter inches wide with a two inch grip.
Using the fence, measure out a one and a half inch grip for the middle piece. Then move the fence back for a two inch wide cut. For the accents you can use quarter inch pieces—you will need two strips for each board.
Glue together all of the pieces. Once the glue dries out even it with the planer. Cut out each pattern and attach to the board. Using the drill press, drill out three holes. Cut out the shape on the band saw as close as you can to the line without touching it. Sand down to the line using the disc sander. Then simply remove the template—it should peel off easily—a rasp can be used to help clean up if needed.
Spray on chosen lacquer. Sell for a small fortune!
[5] How To Make a Wine Box:
Select pine or a wood of your choice. Cut two six foot boards to width. A half-inch piece for the sides and an eight-inch piece for the lids is recommended. You can use a drum sander or hand plane to remove any marks. You will need to cut both long and short sides.
Using a stop over, cut the end pieces and draw a pencil line to indicate the bottom.
Remember the pencil line must always face the inside. Cut grooves along the top and on the bottom on the long sides. Take one of the short sides and cut off half an inch (for the lid to slide off).
You will need to measure the distance between the boards, then cut to width as well as cross cutting to length. For the lids draw a thumb hole at one end. Sand inside the boxes before you glue.
Once the glue dries sand the joints—it may be easier to use a block plane or belt sander in some instances.
Create some shaving material for the inside to make it look pretty. Add a bottle of red and you are good to go!
—
Need more DIY ideas? Check out some other woodworking projects here.